IN THIS ARTICLE:
Getting Started
Your organization has decided to move to Rippling. Welcome! This article will detail how your existing employees will onboard onto Rippling when you invite them to join the platform.
Please note this workflow is a bit different from that of a new hire. For information on new hire including payroll and HR onboarding, click here.
For information for new hire onboarding with IT only click here
Step 1 – Actioning your email invitation
- Once your Rippling administrator invites you to join the platform as an existing employee, you will receive an individual email with a unique link to create your Rippling account and complete your existing employee onboarding
- Be sure not to share the link with anyone else as it is unique (just like you!)
Sender: no-reply@rippling.com
Subject: {Company Name} – action required

See video on actioning your email invite walkthrough below:
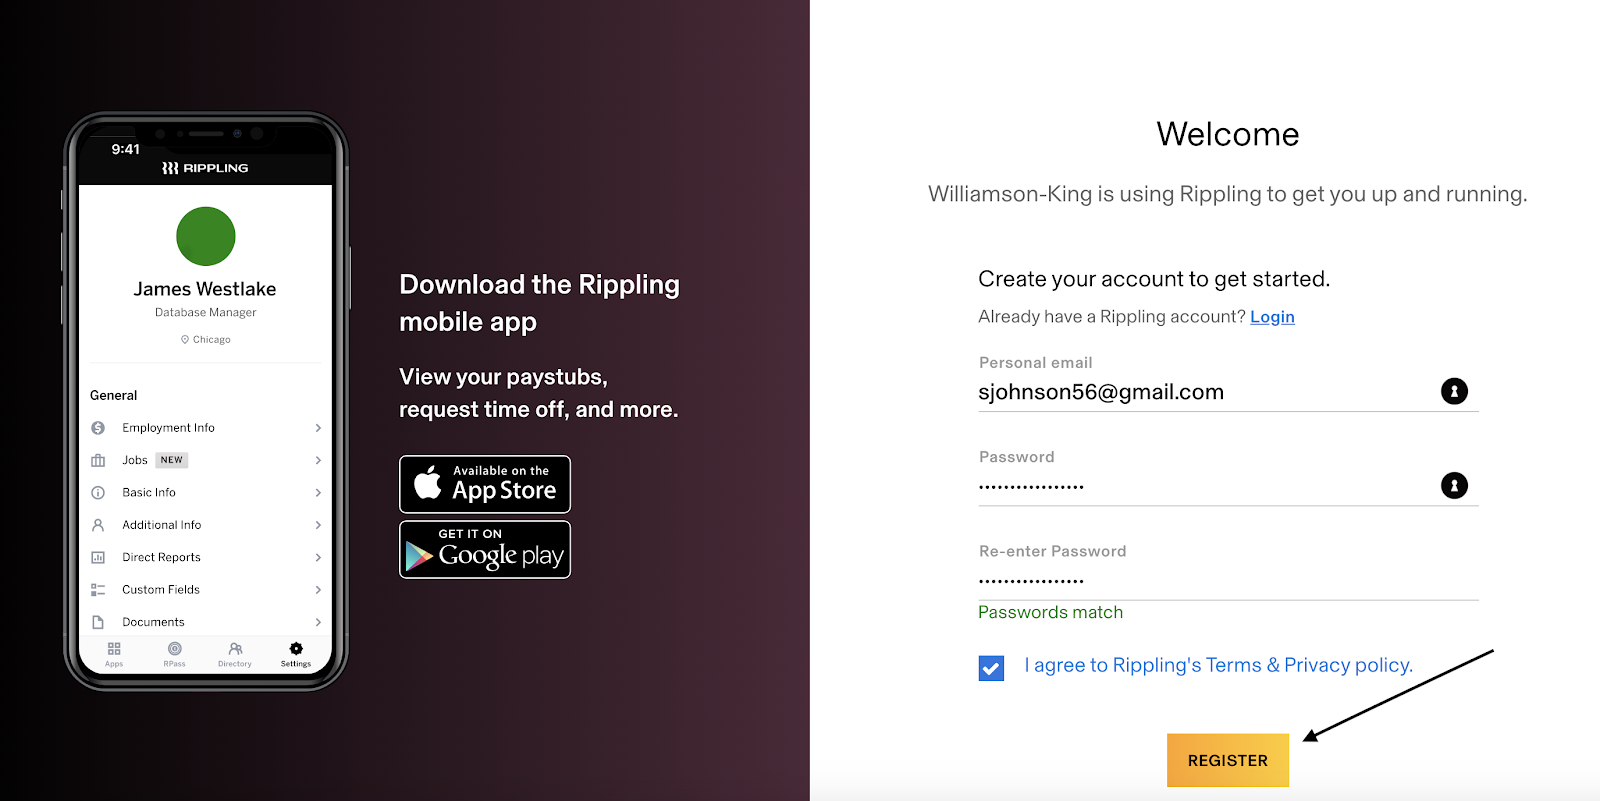
Step 2 – Creating your account and logging in for the first time
- Once you have actioned the unique sign in link you will be taken to a login page and asked to create account credentials
- You’ll notice that Rippling asks for your personal email address when setting up your account for the first time. Rippling asks for your personal email so that if your work email becomes deactivated for any reason you are still able to use your personal email address to log into to Rippling to access important information like historic paystubs, W2s, and COBRA elections
- Once you have entered your personal email address during account setup, you can log into Rippling with either your work email or personal email
See video walkthrough on creating your account for the first time below:
Step 3 – Confirm your existing data
Getting Started
- Once you click on “register” you will be dropped into the existing employee onboarding
- Your company’s Rippling administrator will most likely have already entered a lot of your personal details
Step 1 – Confirm the following:
- Legal Name
- Date of Birth
- Social Security Number
- Home Address
Please note that if any of the fields are prepopulated with inaccurate information, you may absolutely update it so that it is accurate. For example, your Rippling admin may not know that you moved and that your address needs to be updated.
Step 2 – Confirm:
- Preferred name (ie Jack instead of John or maybe your middle name)
- Phone number
- Gender
- Emergency contact name and phone number
- Dietary restrictions
Please note that depending on your company’s settings there may be more or less questions on personal information
Step 3 – Upload a Photo for the company directory
Step 4 – Fill out custom information
- Your Rippling administrator may have set up some custom questions that they would like you to answer
- This could be something as simple as “List 3 fun facts about you”
Step 5 – Enter your direct deposit information so that you can get that paper
- Account type (checking or savings)
- Routing Number
- Account Number
- Account Nickname
- Signature Authorization

If you have multiple bank accounts that you would like to add, add your first account, click save, then click on “add bank account” to add the additional account information
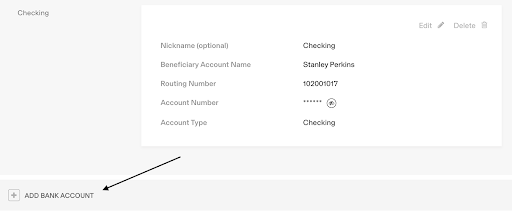
Once the additional account[s] have been added you may decide if you would like to split your direct deposit between the accounts you added in the previous step. You may select the distribution by percentage or dollar value.

Step 6 – Federal Tax withholding
- Indicate if you are exempt from federal tax withholding
- Enter your filing status
- Indicate if you have multiple jobs
- Indicate if you wish to claim additional deductions
- Add your signature
- If you have questions on how to fill out IRS form W4 please refer to the IRS 2020 W4 FAQ
Step 7 – State Tax withholding
- Indicate if you are exempt from state withholding
- Indicate filing status
- Enter any allowances
- Add your signature
Please note this step may differ dependent upon your state of residence and state in which you are employed.
Once you have completed your state withholding, you’re all set! Congrats superstar!
See video walkthrough on confirming your existing data below:
Comments
0 comments
Please sign in to leave a comment.